Final project: Simulated DNA Separation by DIY Gel Electrophoresis
1.Gather the Equipment and Materials:
(1)A DIY DC supply
(2)A ordinary comb with wide teeth, using as the Gel Electrophoresis comb.
(3)Making gel needs:Plastic containers;Preservative film;Agar;250mL Beaker;100 mL Graduated cylinder.
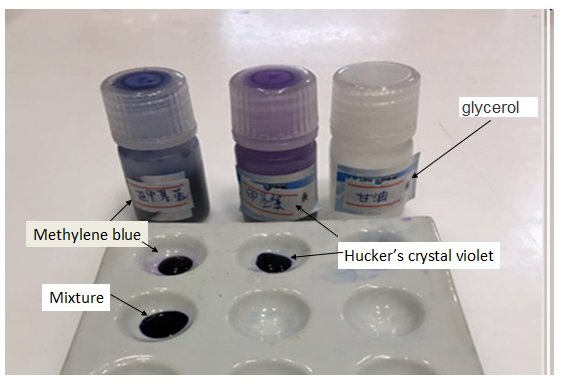
(4)Simulated electrophoresis experiment needs:Glycerol;Pipettes;Reaction plate;Stain: Hucker’s crystal violet, Methylene blue;Stirring rod.
2.Prepare Running Buffer
(1) Rinse out a 250mL Beaker and fill it with 200ml water.
(2) Add 4g baking soda to the beaker and make sure the solution is homogeneous.
3.Prepare and Cast the Gel
(1) Stir in about 2g of agar powder per 100mL of running buffer.
(2)Carefully heat the liquid in the microwave just until it begins to foam slightly. Remove the agar liquid from the microwave and set it aside to cool.
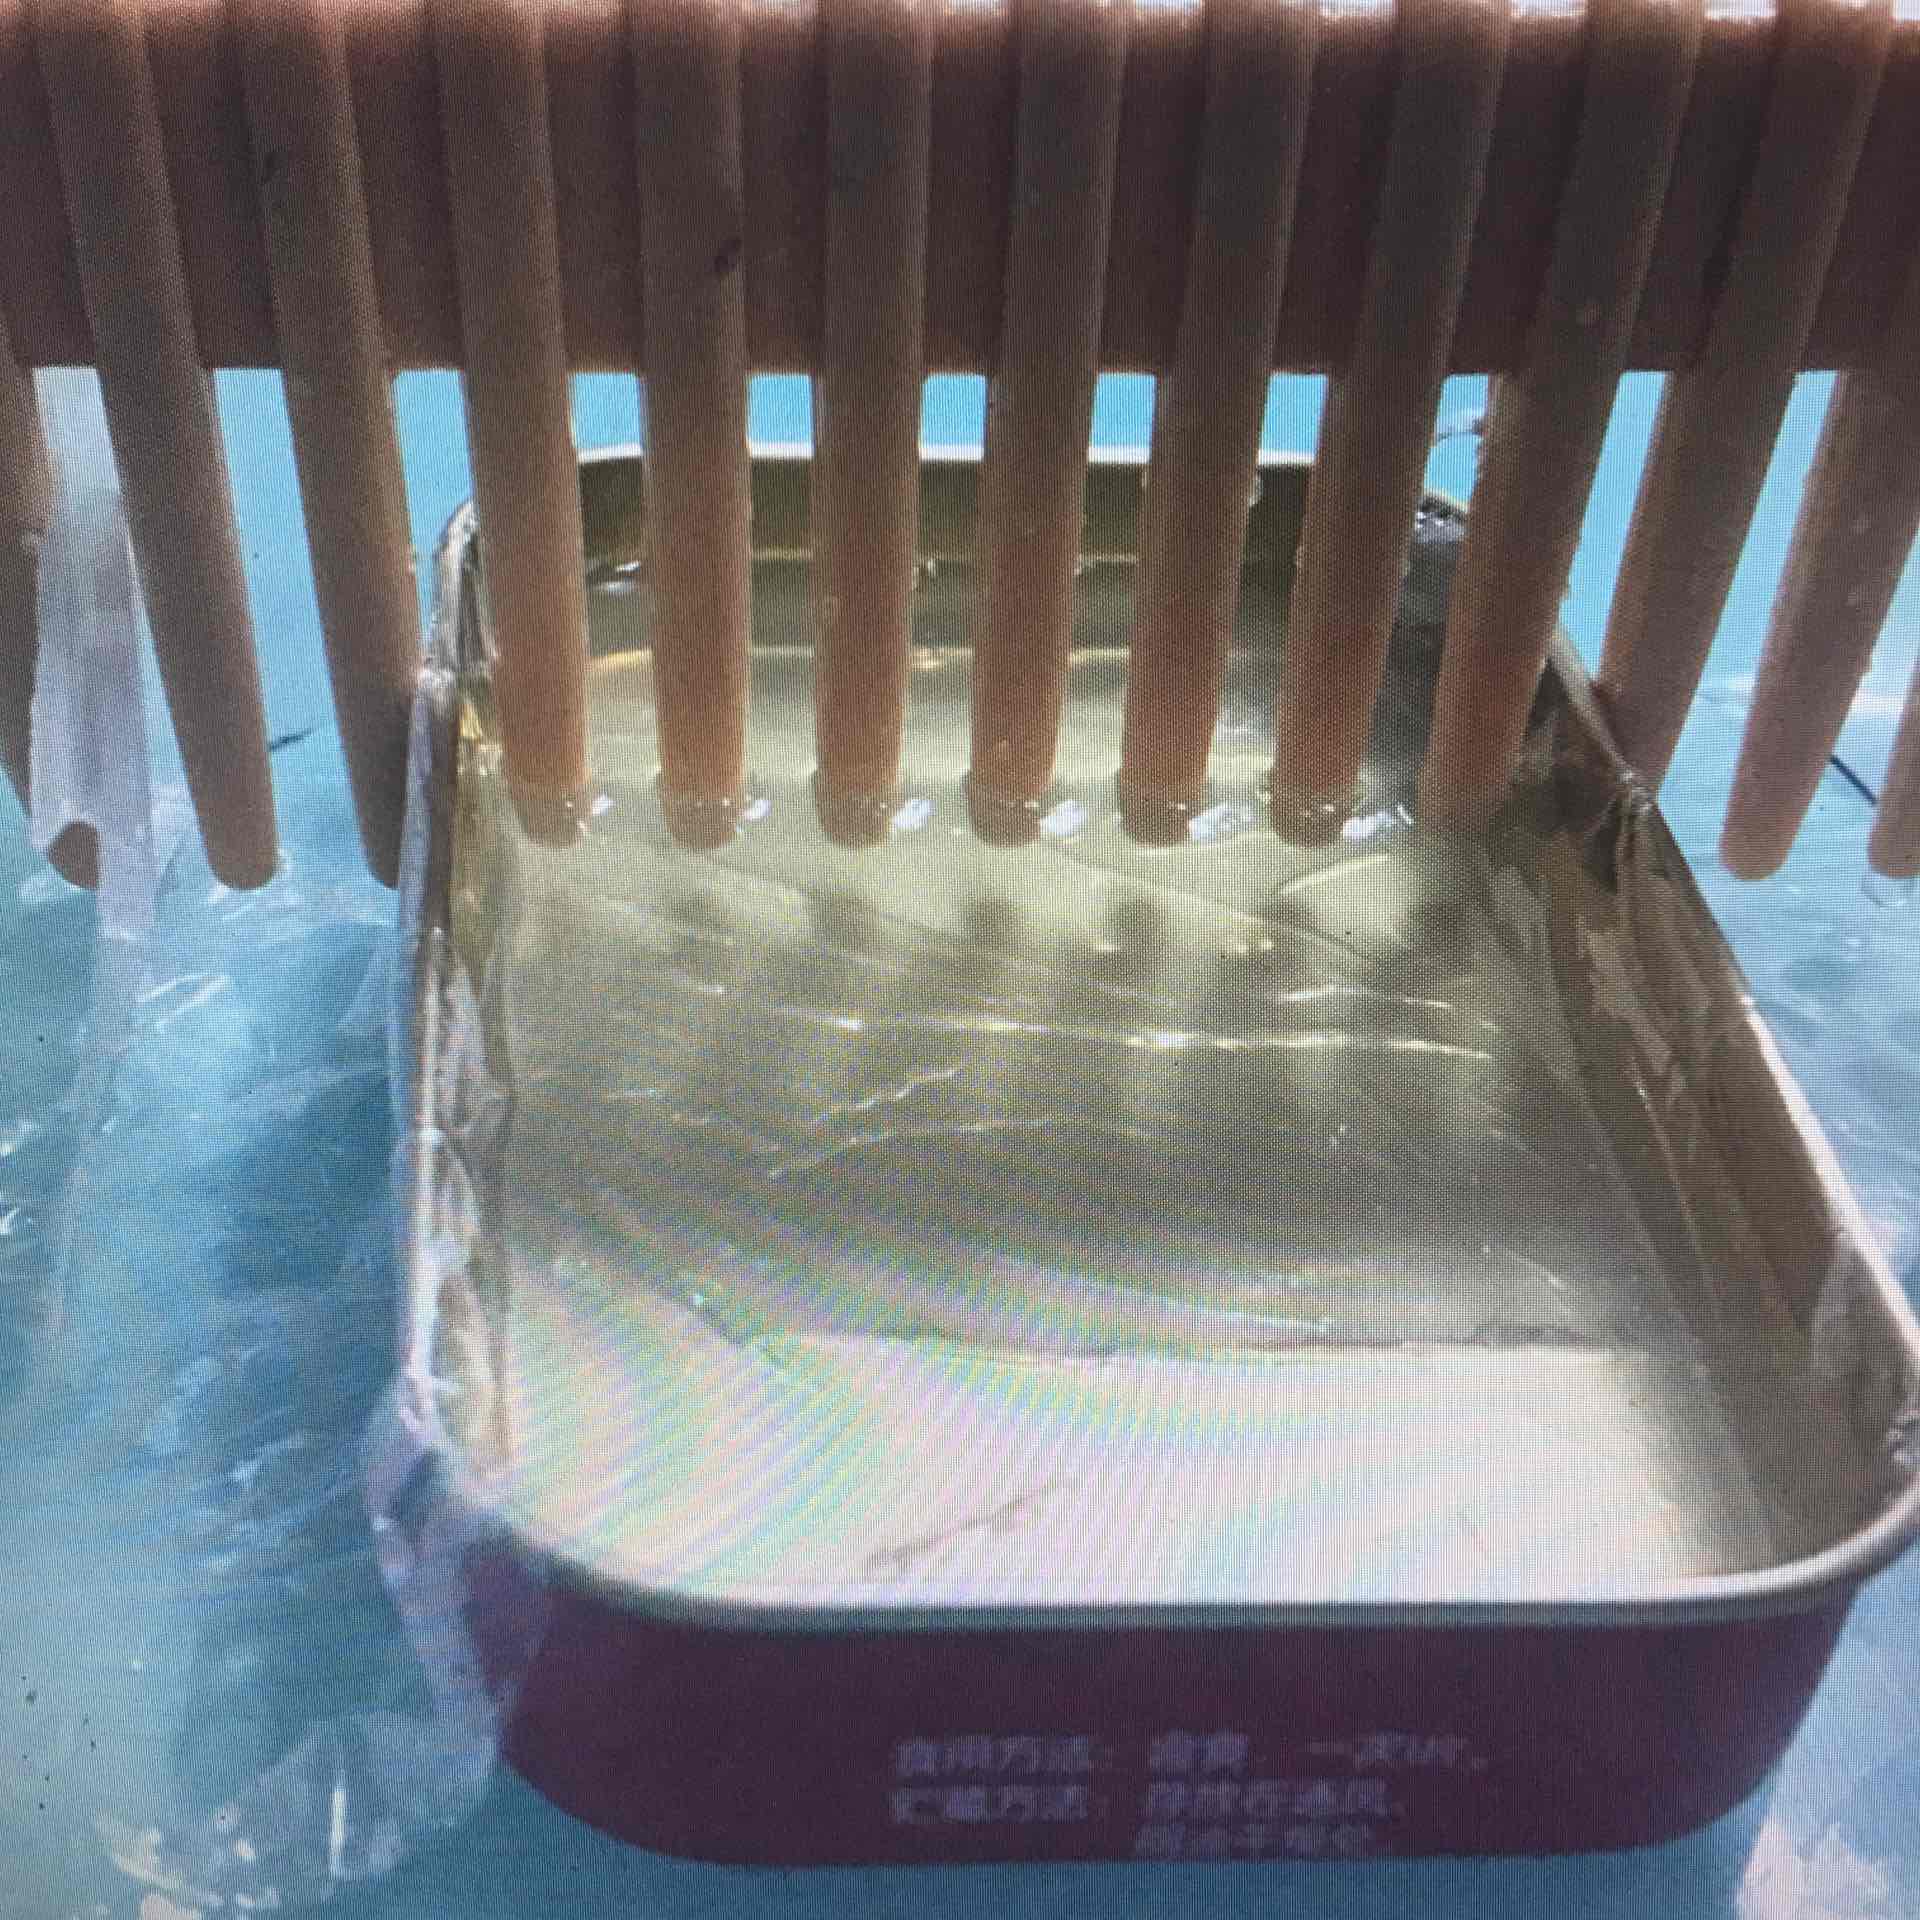
(3)While the agar cools, take a square box, put a piece of preservative film at the bottom. Put a comb in and verify that the tips of the comb do not contact the bottom of the gel casting tray.
(4) Pour the agar liquid into the gel casting tray to a depth of roughly 1 cm. If there are any bubbles, use the stirring rod to
eliminate them.
(5)Allow the agar to cool and gel completely. Once it has set up, carefully remove the comb.
(6)Use a knife to cut the gel into the right size.
(7)Put the gel in the DIY Gel Electrophoresis.

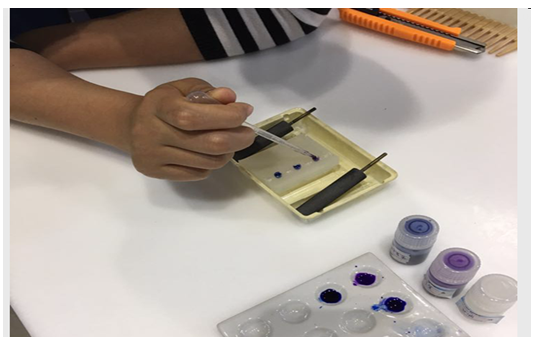
4.Load and Run the Dye Specimens
Choose two kinds of dyes.The molecular weight of them has a little difference.
Prepare three dye specimens.
Load and Run the Dye Specimens Transfer the dye specimens to the well of the gel.
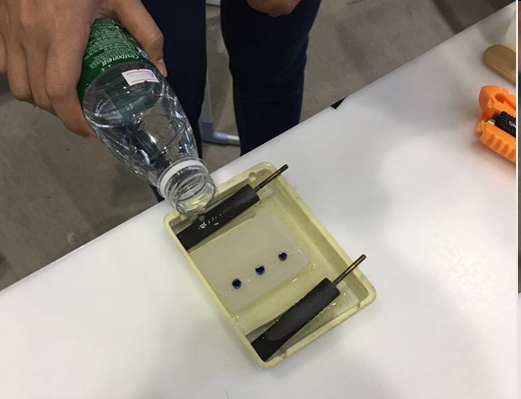
5.Load and Run the Dye Specimens Pour running buffer and connect the electrodes to the
power supply.

6.Electrophoresis
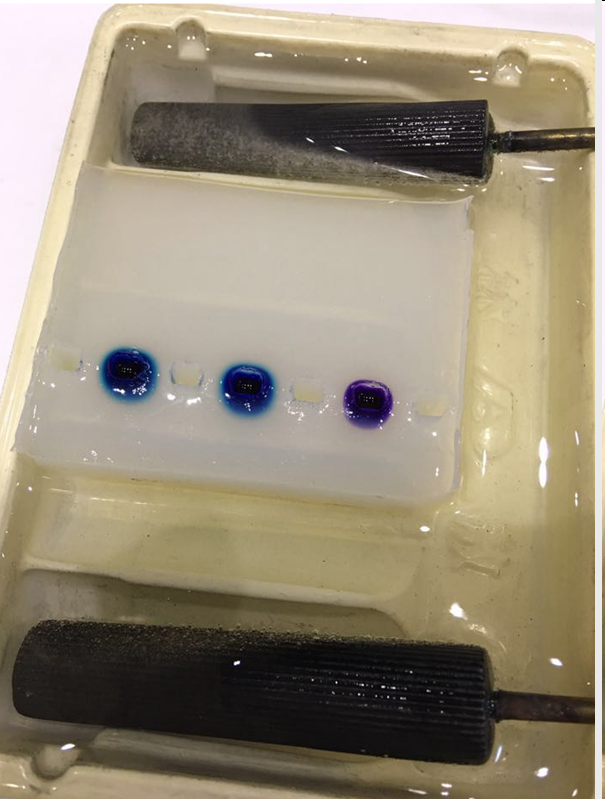
7.Test Result
About 15min later, we can see the dye specimens separate obviously. Compared with the first 30 minutes, the efficiency of
the experiment was doubled and more environmentally friendly .
